Across the blogosphere I saw a lot of cute ideas for celebrating leap year. Most of the ideas centered around frogs. I decided to use one of the ideas for the Kindergarten after school program today. We made paper plate frogs. Sadly, I didn't take any pictures but what we did was color a paper plate green, use paper punches for a big white eyeball and then a smaller punch for a pupil, trace and cut out our hands out of green construction paper and glue them to the back for feet. The picture I saw stopped there but one of the children wanted a mouth so I cut strips of red paper and curled them and we glued those on for tongues. Another one of the children suggested adding flies to the tongues which would've been fun but we ran out of time. I love doing fun activities like this with the kids. Even though it's a bit hectic, they absolutely love it so it makes all the work worth it.
On another note, several people were really hoping I would really have this baby today but it looks like it's not going to happen. I think it would've been cool to have a leap year baby but could see that there could be some drawbacks. I got several adorable little frog outfits at my baby shower. Several people commented that they normally don't see baby clothes with frogs on them. Maybe it's a leap year thing. I dunno. I just can't wait to dress up the baby in them!
Wednesday, February 29, 2012
Tuesday, February 28, 2012
{Tutorial Tuesday} - Bassinet/Pack n Play Sheet
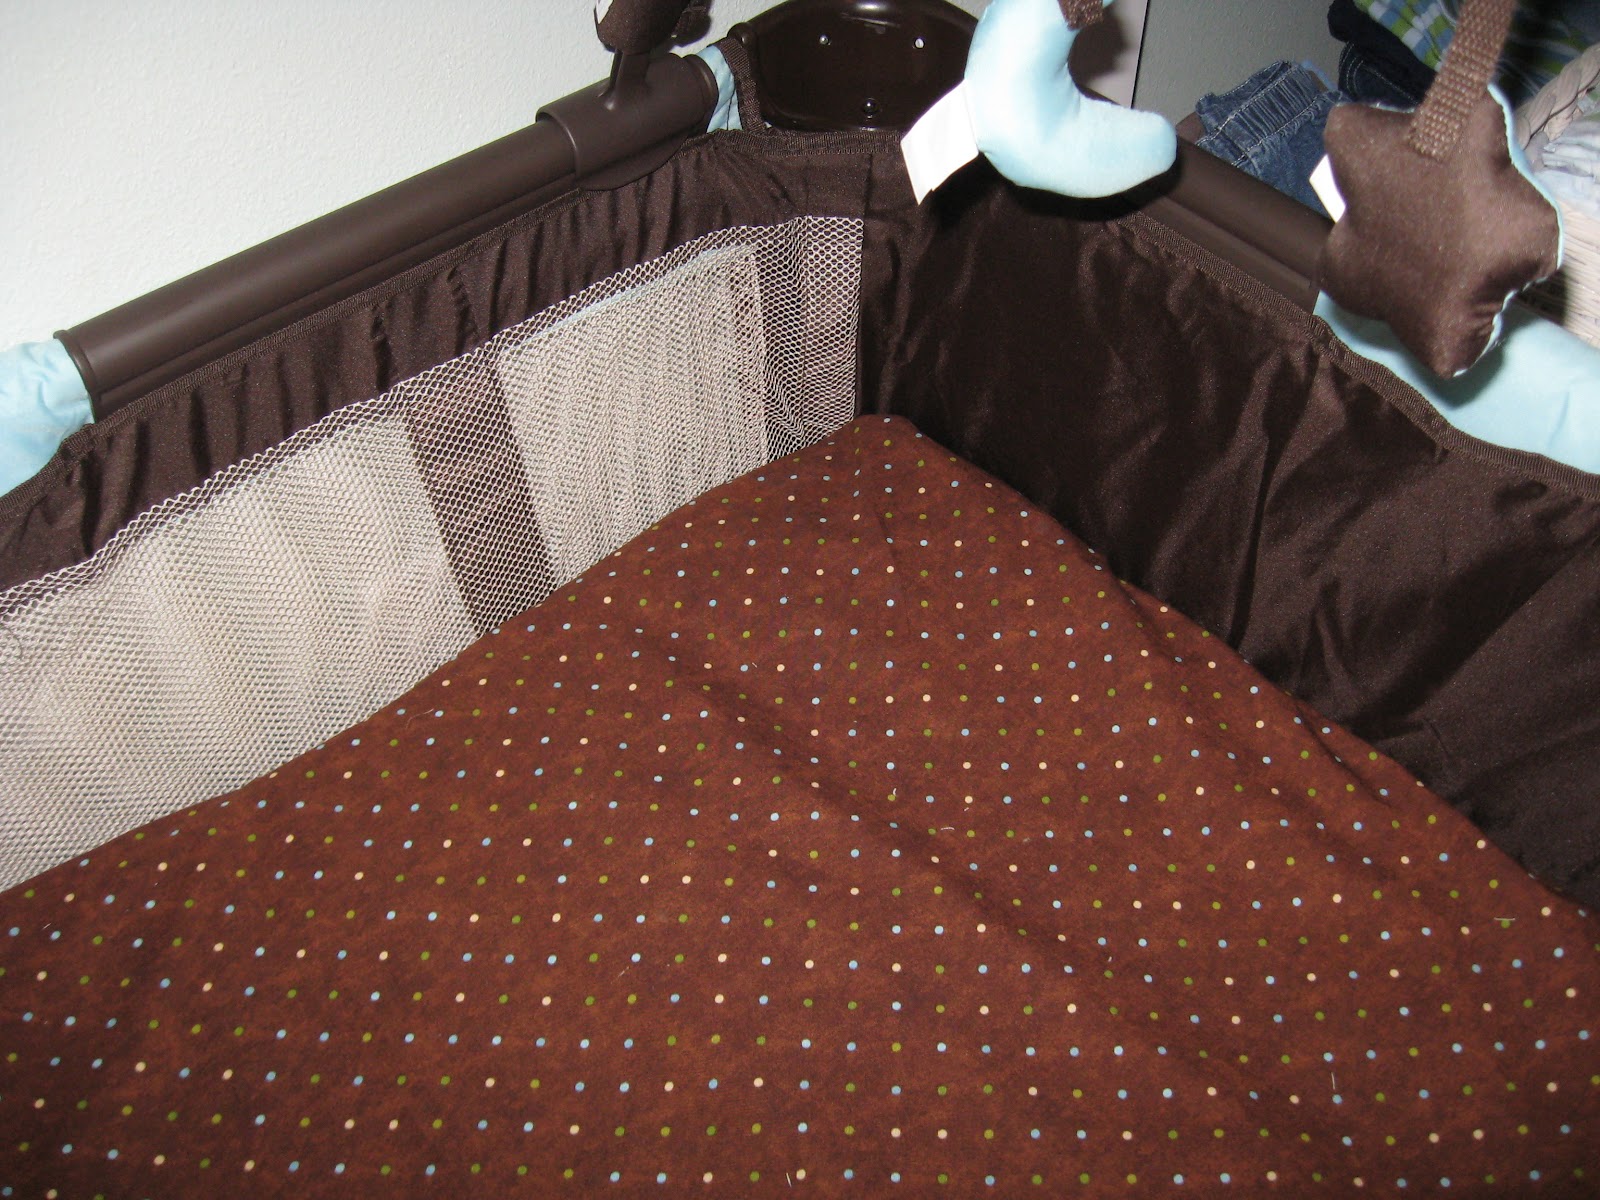
About a month ago we bought a pack n play with a bassinet top. I was glad that it came with a sheet. Upon examining it, I determined that it would be pretty easy to duplicate since it was just three pieces of material serged together as you can see here.
First, I measured the pieces and figured I needed to cut two pieces 3 3/4" x 20 3/4" and one piece 34 1/4" x 38 3/4". Luckily, when I searched through my fabric stash I was able to find the perfect material that went really well with the pack n play.
The first thing to do is serge along one side of each of the long strips of fabric that will be at the top and bottom of your sheet.
After you've serged along the long side of each strip, pin them to the large piece of fabric with one strip at the top and the other at the bottom. Then serge along the sides attaching the long strips to the main piece of fabric.
Next step is to fold over the sides about 3 1/2" and pin in place and then serge across the top and bottom of the sheet and you will be done! So fast and easy! You may need to adjust your measurements a bit. After I was done I realized that my seams were a bit narrower than what the manufacturer used so to ensure a snug fit I need to do another straight seam a bit in from my serging seam. When I make the next sheet I'll prob. just cut the pieces a bit smaller to adjust for the narrower hem.
First, I measured the pieces and figured I needed to cut two pieces 3 3/4" x 20 3/4" and one piece 34 1/4" x 38 3/4". Luckily, when I searched through my fabric stash I was able to find the perfect material that went really well with the pack n play.
The first thing to do is serge along one side of each of the long strips of fabric that will be at the top and bottom of your sheet.
After you've serged along the long side of each strip, pin them to the large piece of fabric with one strip at the top and the other at the bottom. Then serge along the sides attaching the long strips to the main piece of fabric.
Next step is to fold over the sides about 3 1/2" and pin in place and then serge across the top and bottom of the sheet and you will be done! So fast and easy! You may need to adjust your measurements a bit. After I was done I realized that my seams were a bit narrower than what the manufacturer used so to ensure a snug fit I need to do another straight seam a bit in from my serging seam. When I make the next sheet I'll prob. just cut the pieces a bit smaller to adjust for the narrower hem.
Completed sheet in place in the bassinet. All ready for the baby!
Monday, February 27, 2012
{Money Saving Monday} - cardstore.com
Every once in a while I come across a code to order a free greeting card from cardstore.com and I've got to say that I've been very impressed with them. Their cards are really cute and they are very easy to personalize with whatever message you'd like, photos and even your own signature. You can have it sent to you first or have it sent directly to the recipient. And it seems like I always get a code right when I need one. So convenient! If you like to send greeting cards or if you'd like to start I highly recommend them. In this day and age where snail mail is becoming a thing of the past it's fun to get a personalized greeting card in the mail. Make someone's day today!
Friday, February 24, 2012
{Favorite Things Friday} - Moose Tracks Ice Cream
It'd been several months since I'd bought any ice cream but when I was at the grocery store on Monday and noticed it was on sale, I gave in to temptation and bought some. But seriously, there are few things better tasting than Moose Tracks ice cream.
Thursday, February 23, 2012
{Thankful Thursday} - Awesome New Iron
Today I am thankful that I didn't have to go anywhere since the weather was atrocious this morning. (So much for giving it props yesterday!) I'm also thankful for my awesome new iron. When we went to Billings last month I told Josh that we should each pick something out for early Valentine's Day presents. He got new pillows and I picked out an iron. My old one didn't work very well especially after I'd dropped it a few months back. Oops! This new iron steams up great, has a super long cord which is really nice and works like a charm. I'm also thankful for my supply of craft/sewing supplies. It's so nice to just be able to dig around in my stuff and find what I need to make pretty much anything I want. The bassinet we bought just came with one sheet so I want to make another one to have an extra and I also stumbled upon a tutorial for a carseat cover the other day so that's on my list to make as well. I found the perfect fabric (pictured above) in my stash so I'll make those tomorrow and post about them sometime next week.
Wednesday, February 22, 2012
{Whatever Wednesday} - What a difference a year makes!
Pretty close to exactly a year ago we pulled the moving truck up in front of the house. It was a several day adventure in which a lot of things went wrong - it was pouring rain when we packed the truck, we had to leave A LOT of stuff behind, hit a snowstorm that really slowed us down, truck broke down and we were stuck by the side of the road for 10 hours in 20 degree weather (tops), had to leave the truck behind to get fixed and then 4 hours back to pick it up the next day, truck broke down again in front of the house, high of 10 when we unloaded the truck, foot of snow on the ground that we had to carry everything through. It was a pretty crazy couple of days and a bit stressful to deal with but even while it was happening we knew that somehow everything was working out for the best. Our delays resulted in us making the last 4 hours of the journey in the truck on dry roads which was possibly the only window of dry roads all that week since it was between storms. The important thing of course is that ultimately we all made it safely and I was pretty happy that the stuff made it safely as well.
Today the high was in the upper 40s, it rained a bit off and on and we've had some crazy wind the last few hours. There's just a few patches of snow on the ground from the last snow storm which will be gone if the rain keeps up. Completely different than it was a year ago!
Even though I knew we wouldn't always live in AZ, I didn't expect that we would ever move to WY but here we are and here we are trying to figure out how we can stay. I was def. not a fan of the extreme heat in AZ but I do miss the friends that I made there and the family that we left behind. (And also the accessibility to shopping!) I have to admit that I do like living in WY though. The people are really nice and between my hoarding and occasional shopping trips I've been able to get by. It's been 10 months since I've been home to CA and at this point I'm wondering if I could ever drive in a city again much less live there. Things are so different here that sometimes I just stare in disbelief and I'm sure I'm constantly offending people but eventually I'm sure I'll figure out how life works here in the wild west. And hopefully someday soon, I'll actually be able to unpack my clothes and go through the rest of the boxes in the garage. We'll see what the next year brings...
Tuesday, February 21, 2012
{Tutorial Tuesday} - Burlap Wreath
Ever since I made the burlap lampshade I've been wanting to do make a wreath to match.
A couple of weeks ago I finally make one.
I had this wreath on hand from the Dollar Tree and it worked out just fine.
I started out with a yard of burlap and cut it into 3" strips.
First, I wrapped a couple of strips around the wreath to cover it and hot glued it in place as I went.
With the remaining strips I cut them in half lengthwise with a pair of scissors and then began folding them into rosettes and gluing them in place. In order to get them evenly spaced around the wreath I first glued one on the top and bottom and on each side and then I filled in the gaps.
I ended up using 16 rosettes which worked out great because it used up practically all the fabric I had.
I glued a pop tab on the back to use as a hook.
ta da! finished and on the wall. love it!
<a href="http://tipjunkie.com/" target="_blank"><img src="http://www.tipjunkie.com/images/TipMeTuesdayButton1.png" alt="Tip Junkie handmade projects" border="0"/></a>
Subscribe to:
Posts (Atom)