Friday, April 29, 2011

"Tifanny" Boxes

While I've been traveling the last couple of weeks I've been busy making presents.  When I was searching for a way to package them up I found some blue cardstock in one of my file drawers at my parents house.  Usually I use 12 x 12 paper for boxes and this cardstock was just 8 1/2 x 11 but they ended up being the perfect size.  I used the extra I cut off for mini tags and just handwrote them as you can see.  Unfortunately the lighting wasn't great for this picture but I promise that they are the prettiest shade of Tiffany Blue.  Leaving these behind to be passed out at my family's Mother's Day party in CA next weekend.

Thursday, April 28, 2011

Wedding Party Rosettes

IMG_5616

This picture doesn’t do this justice, but when I went to my cousin’s pre wedding open house last week in ID they had this super cute garland leading up to the tent.  Even though I kept myself busy most of the night keeping the punch bowl full, pouring cups of punch and making sure there was one each of key lime pie, lemon meringue, coconut cream and banana cream on the table at all times I couldn’t resist swiping one of the strips of fabric towards the end of the event and twisting it up into a rosette.  We had been discussing crafts earlier so I showed it to a couple of my cousins.  Well, it was spotted by the bride’s brother and I quickly found out that the bride’s sister had gathered up some supplies to make some sort of flower for several of the nieces in the wedding party but a design hadn’t been settled on yet so I quickly went to work and sewed up 5 rosettes to be used in pictures on the wedding day.

IMG_5630

There’s no better time for a rosette making tutorial with the bride to be and sister of the bride than in the middle of the pre wedding open house!  (My blood is still thin from living in AZ the last couple of years so I was dressed in many layers to keep warm in the outdoor tent.  There was a heater that helped though.)

IMG_5633

The first four rosettes I made for the little girls and then I made one more for an older niece.

IMG_5688

Here are three of the rosettes in action.  Can you spot them?

IMG_5714

Better picture of the garland leading up to the reception in SLC the evening of the wedding.

I’m so glad I could help out and add to their special day.  I still can’t find a tutorial to explain how to make the rosettes like I do so I’m hoping to make a video to explain it soon.

Wednesday, April 27, 2011

More burp cloths

IMG_5525

I absolutely adore these little mice and of course I’m still obsessed with lime green so these are probably my favorite burp cloths yet.  So fast and easy to make.  Just building up my stash.

Tuesday, April 26, 2011

Flannel Rag Blankets

I made these a couple of weeks ago for a good friend who is having twin boys in a couple of months.  They will look much better once they are washed and the edges fray.  I just love making flannel rag projects.

Monday, April 25, 2011

Non traditional wedding gifts

Last Monday my parents and I drove from WY through Yellowstone park to ID for my cousin’s pre wedding open house.  Since we were going to spend a lot of time in the car I of course brought some yarn with me and my crochet hooks.  I’ve had this yarn for a while and could never decide what to do with it.  I was thinking about making a baby hat or cocoon but I kept going and ended up with this.  I’d never done earflaps before but I think they turned out pretty good.IMG_5614

IMG_5611

Since I had some yarn leftover I decided to try to make a headband/ear warmer.  I’d never made one of these either and made it up as I went but I think it turned out great.

I’d been undecided about what to give the happy couple for a present but ended up with two presents that I think will be good for them since they live in a cold climate.

I hope they enjoy them and get a lot of use from them.

Friday, April 15, 2011

Dish Scrubbies

Once upon a time I had cut some tulle into strips to crochet but had never done it so finally yesterday I got around to it.  At first I made the granny squares but then I thought that the circles would be more useful so I did those.  Each variation has 3 rounds.  For the circles, I chained 3 and then joined to form a loop.  The first round is 12 double crochet.  For second & third rounds, double crochet twice in each dc of the previous round.  I chained 3 for the beginning dc in each round.  I used three strips of tulle for each scrubbie but had more leftover with the granny square variation.  It was a little weird to crochet with and I wouldn't recommend this for beginners but if you have some experience with crocheting give this a try.

Wednesday, April 13, 2011

Green & White Dishcloths

Initially I made these for me since I hadn't found very many of my dishrags since the move and I desperately needed some more.  Since I crocheted these up though I found my stash of favorite dish rags so I'm keeping these to the side for now.  Maybe I'll give them away for a gift or work them into my own collection as I replace some that are wearing out.  I'll say it again that if you don't have any homemade dish cloths you are really missing out.  Nothing quite compares to them.  For now my favorite pattern for them is the granny square since they keep their square shape after washing.  When I made them in rows they shrunk up to a weird size and I didn't like that.

Monday, April 11, 2011
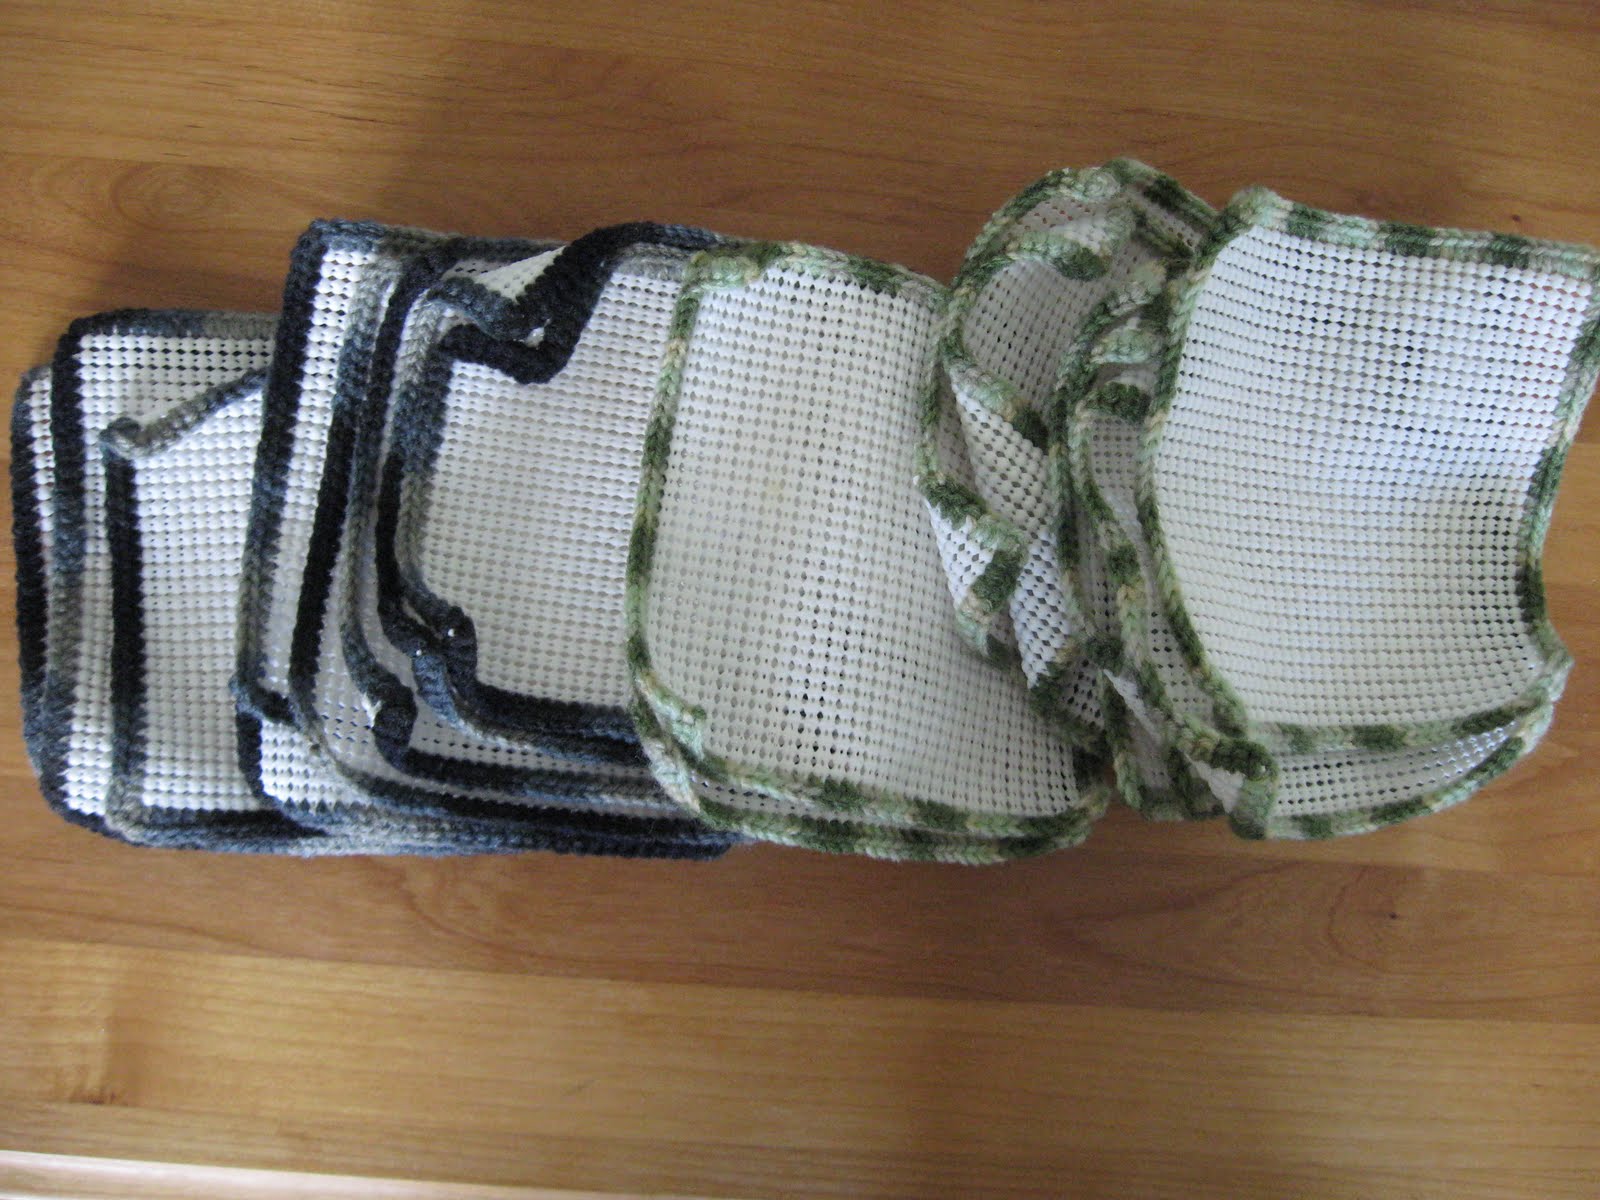
Get a grip!

 Last weekend I crocheted up all of these jar openers.  I ended up with a pretty big stack.  I'm going to give them away for Mother's Day gifts so if you one of the top 18 "moms" in my life there's a pretty good chance you'll be getting one of these.
This was my inspiration.  I was lucky enough to receive one of these in a family gift exchange at Christmas.  I'm not sure where they got the idea but I think it's genius.  If you'd like to make one here's how I did it:  The middle is shelf liner.  Look for it at your local 99 cent store.  Make sure it has a grid pattern like shown.  I found some at the Dollar Tree the other day that wouldn't work since it had a different mesh design.  I used an "e" crochet hook and some scrap Super Saver acrylic yarn I had leftover from other projects.  (If you have an "F" hook try that.  I couldn't locate mine and as you can see my squares are curling up at the edges so a bigger hook prob. would help.)  The sample here just has one crochet in the corner but I did 3.  Start in a corner and single crochet twice.  Single crochet in each space around, single crocheting three times in the next three corners.  Single crochet once more in the beginning corner and then finish off.  Pretty easy huh?  Oh, I should probably mention to cut the shelf liner in approx. 6" squares to begin with.  For just a buck you can make a lot of presents.  These didn't cost me anything since I already had the supplies on hand.  Enjoy!